Switching on
Energy supply
Power supply
Switch on the electrical power supply by turning the main switch located on the left side of the machine clockwise to the "ON - I" position
The entire electrical part is now powered on. The control system takes a few minutes to start up. The same applies to the motor power supply systems. The network links (internal and external) establish their connections.
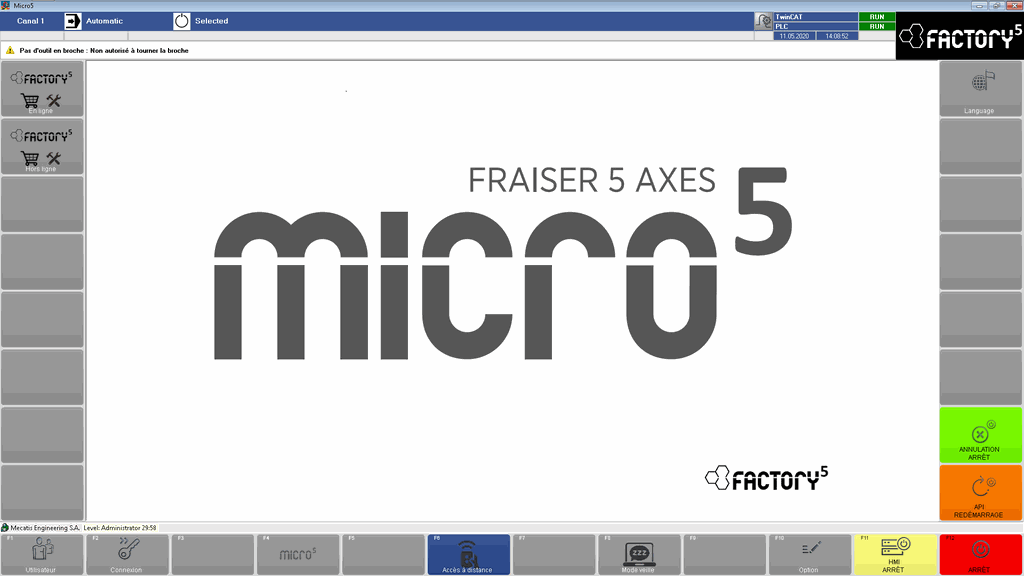
Check that the display is on. Start-up is completed when the main page is displayed
Pneumatic supply
Switch on the pneumatic power supply by turning the red main switch located in the pneumatic cabinet (lower left part) clockwise to the "ON - I" position
The pneumatic system is equipped with an electrically operated progressive supply valve. When the system is stopped or an emergency stop is activated, this valve closes the pneumatic supply to the system and quickly releases the pressure contained in the pneumatic part of the system.
When the system is reset (blue "Reset" button), the valve is activated and the system is pressurized and operational.


Verification of data consistency
Always check that the tool number and pallet number physically present on the Micro5 correspond to those displayed on the interface.
There are two possible scenarios depending on the version of the Micro5 software:
Software versions before 25.06.2020, 13:38 -->|
The tool in the spindle when the machine is switched off is lost; the tool number must be entered manually when switching on.
In MDI mode, enter the tool number in the program entry section and start.
|--> Software versions from and including 25.06.2020, 13:38
The tool in the spindle when the machine is switched off is stored. When the Micro5 is switched on, the tool stored when the machine is switched off is automatically transferred to the interface when the reference is taken. Tools should therefore not be manually changed before a homing operation has been performed.
There are no comments for now.